Last Updated on May 13, 2022 by Carlo Dach
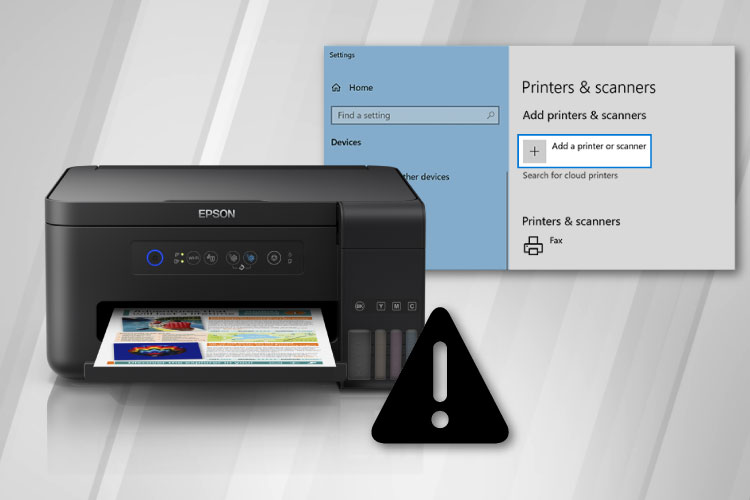
Sometimes, users are not able to send a document or a print job to a shared printer or a network printer. This is followed by an error message, which denotes the issue on a Windows computer. You may either come across “Windows cannot connect to the printer” or the same message accompanied by “Access is Denied”.
The error can show up due to several reasons, and it mostly depends on printer configuration. So to troubleshoot, first check whether the printer is configured with a LAN port or connected to another PC and is shared on your network. According to how it is configured, you have to resolve the connection error differently. All possible solutions for it are outlined hereunder. If you are wondering how to turn a printer online, try out the applicable troubleshooting step given below.
Table of Contents
Shared Network Printer’s Troubleshooting Steps
In case your printer is connected to a PC, you have shared it on that computer, and you are adding that printer to a different system on your network, you can try out a few things.
- First, navigate to the Add Printer Wizard. For that, click on the Start button, search Add Printer, and open it from the search results.
- When the wizard appears, select the printer you want to configure. Select A network printer, or a printer attached to another computer
- Click on the Next button and select the checkbox Connect to this printer. In the Name field, key in the path to your shared printer by using “\\” followed by the name of the system on which the device is shared followed by “\” and your printer name.
You should now be able to connect to your office printer. However, if you still get the “Windows cannot connect to the printer” error, then you can attempt to add it as a local printer.
Make it a point to apply this configuration only if the device is connected to a different PC and is being shared on your network.
- In the Add Printer Wizard, select the checkbox Local printer attached to this computer, and clear the selection from Automatically detect and install my Plug and Play printer.
- On the screen that appears next, click on the checkbox Create a new port and select Local Port from the drop-down next to Type of port. Click on the Next button and Windows will prompt you to type a Port Name. In the respective field, you have to type the path to the aforementioned printer.
Troubleshooting Steps for Network Printer
In case your printer is connected to a LAN or wireless network, you have to select Local printer attached to this computer, and select the checkbox to create a new port as said. Instead of selecting a Local Port, select Standard TCP or IP Port from the above-mentioned drop-down.
Next, key in your printer’s IP address and you should be good to go. In case you do not know the IP address, take a printout of the configuration sheet of your printer.
Ensure File and Printer Sharing Option is Allowed through Windows Firewall
You may come across the error or connection issue if the Firewall prevents the connection. So ensure the File and Printer Sharing option is enabled through the Firewall on your Windows PC and the system to which your printer is connected.
- From the Start menu, search for and open Windows Firewall. Once it opens, click to select the Exceptions
- Ensure the checkbox of File and Printer Sharing has a tick mark. If the checkbox does not have one, then select it. This exception for File and Printer Sharing on Firewall will make sure it will not block your connection.
Update Windows 7 Drivers
You will also come across the error message if you are adding a printer to a computer running on Windows 7 and the one hosting the printer is running on Windows XP or Vista. If so, you have to download the Windows 7 drivers from the manufacturer’s website and install them on the system hosting the printer. When you retry to connect to your printer from Windows 7 OS, the driver for the version should then be available from the host PC for installation.
Disable the Antivirus Software if it is Blocking Connections
If an antivirus is blocking the connections, then disable the software and then retry to connect to your shared printer. You should do this no matter whether you are using a basic version of a third-party virus removal software or the full suite of the program. If you still come across the “Windows cannot connect to the printer” issue, then get in touch with our printer service professionals through the toll-free number for advanced troubleshooting.


